
Lifting plan tile
How to manage lifting plans with the Smart Jobsite Application
Add the lifting plan tile
When you start the Smart Jobsite application, afterthe login you have acces to the dashboard

To add the lifting plan tile you can click on the + button. Then click on the tile button under the + Button

The ifting plan tile will be instantiated
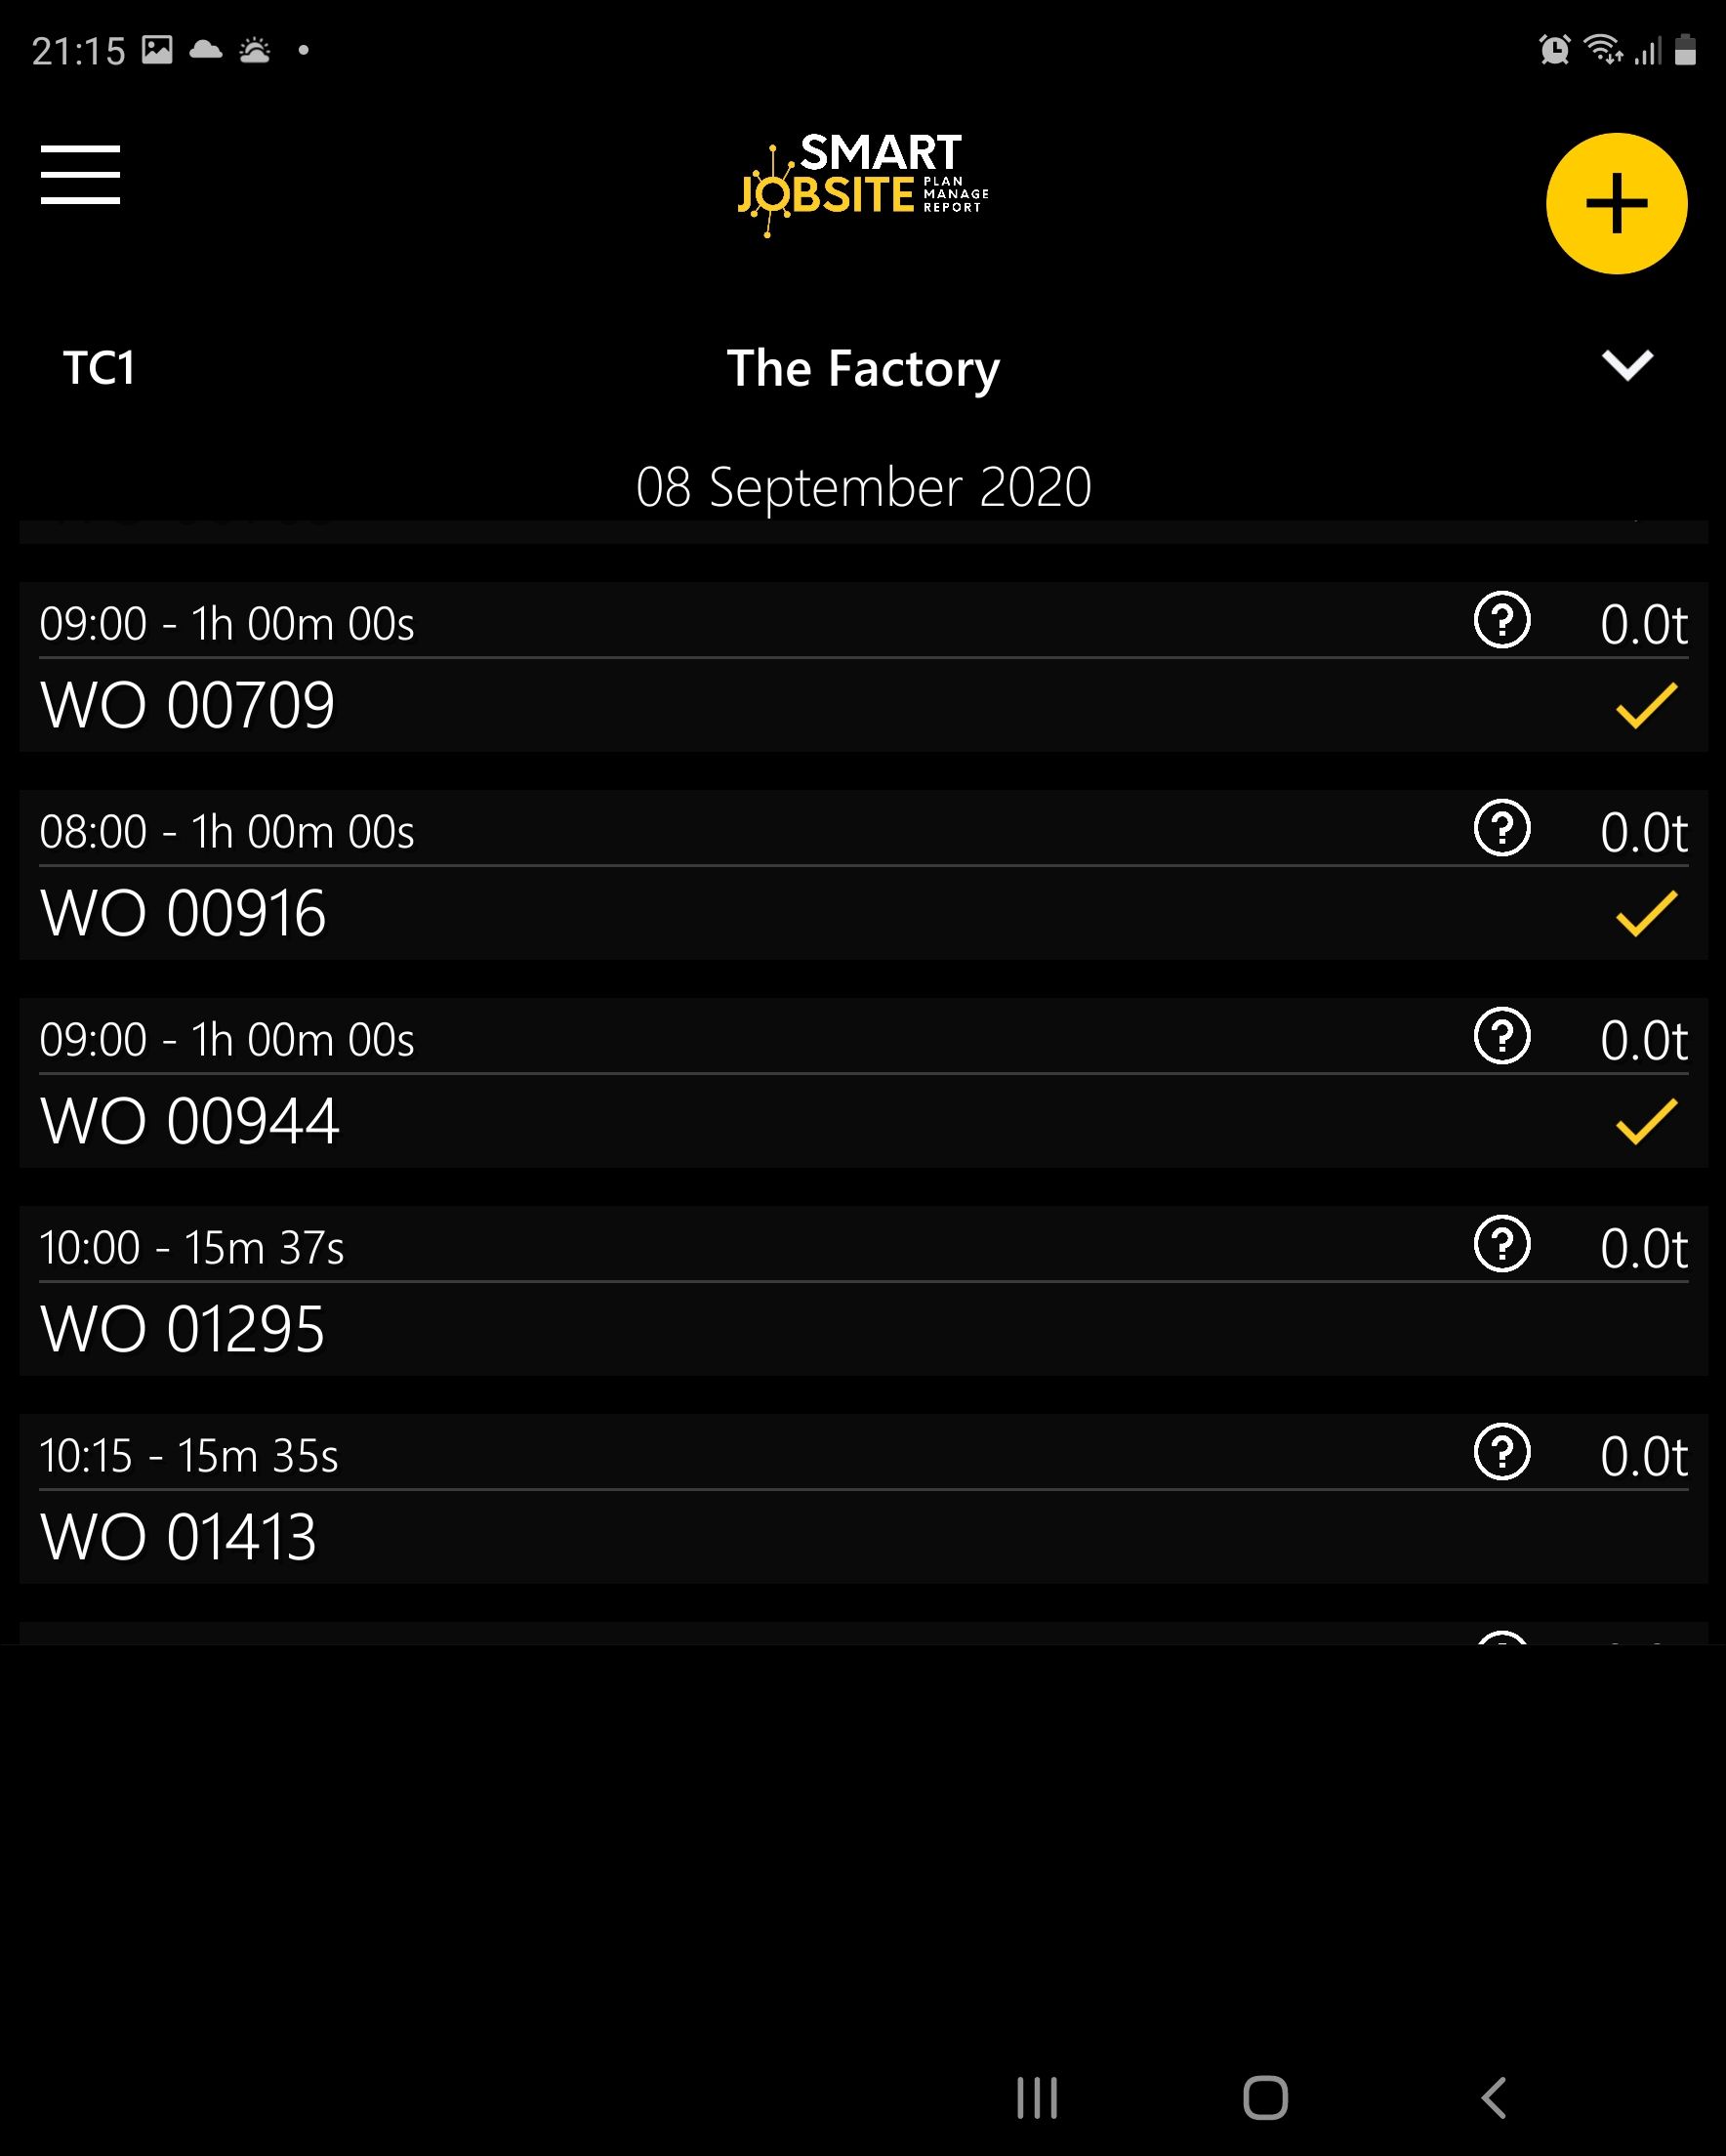
Tile menu
You can click on the  button to acces to the tile menu
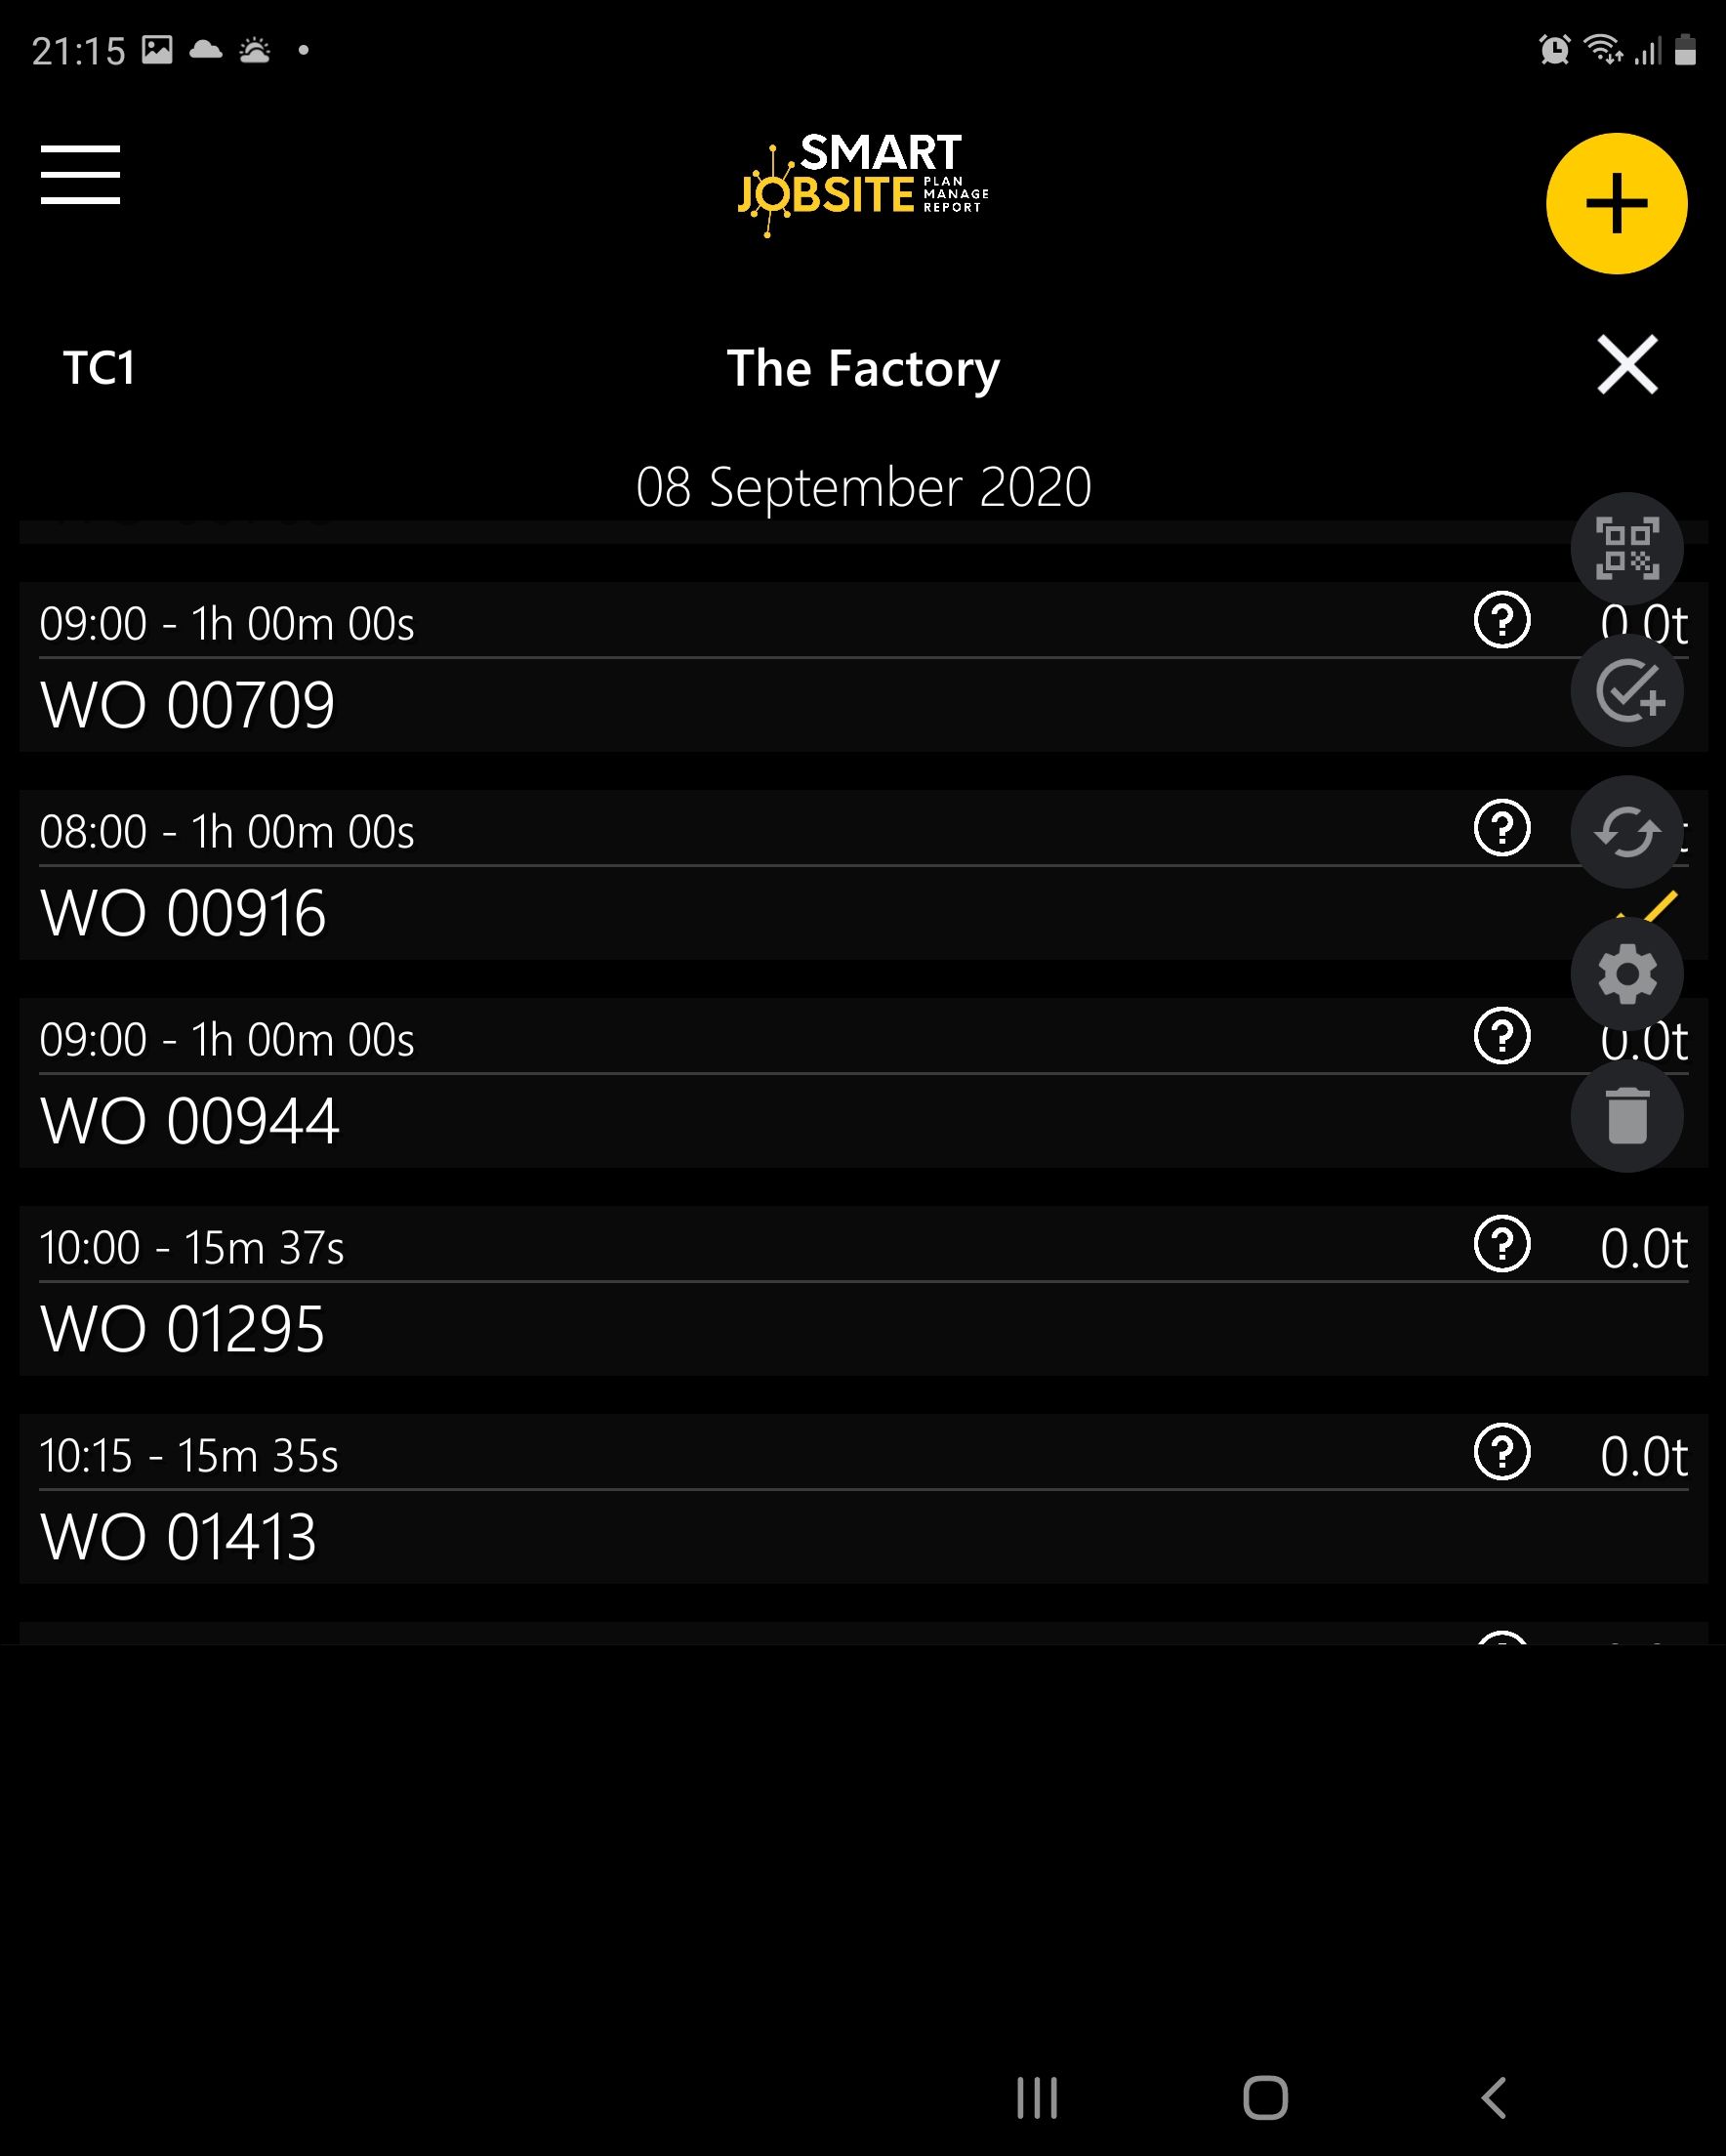
Scan a QR code
From the tile menu you can click on the  button to launch the QR code
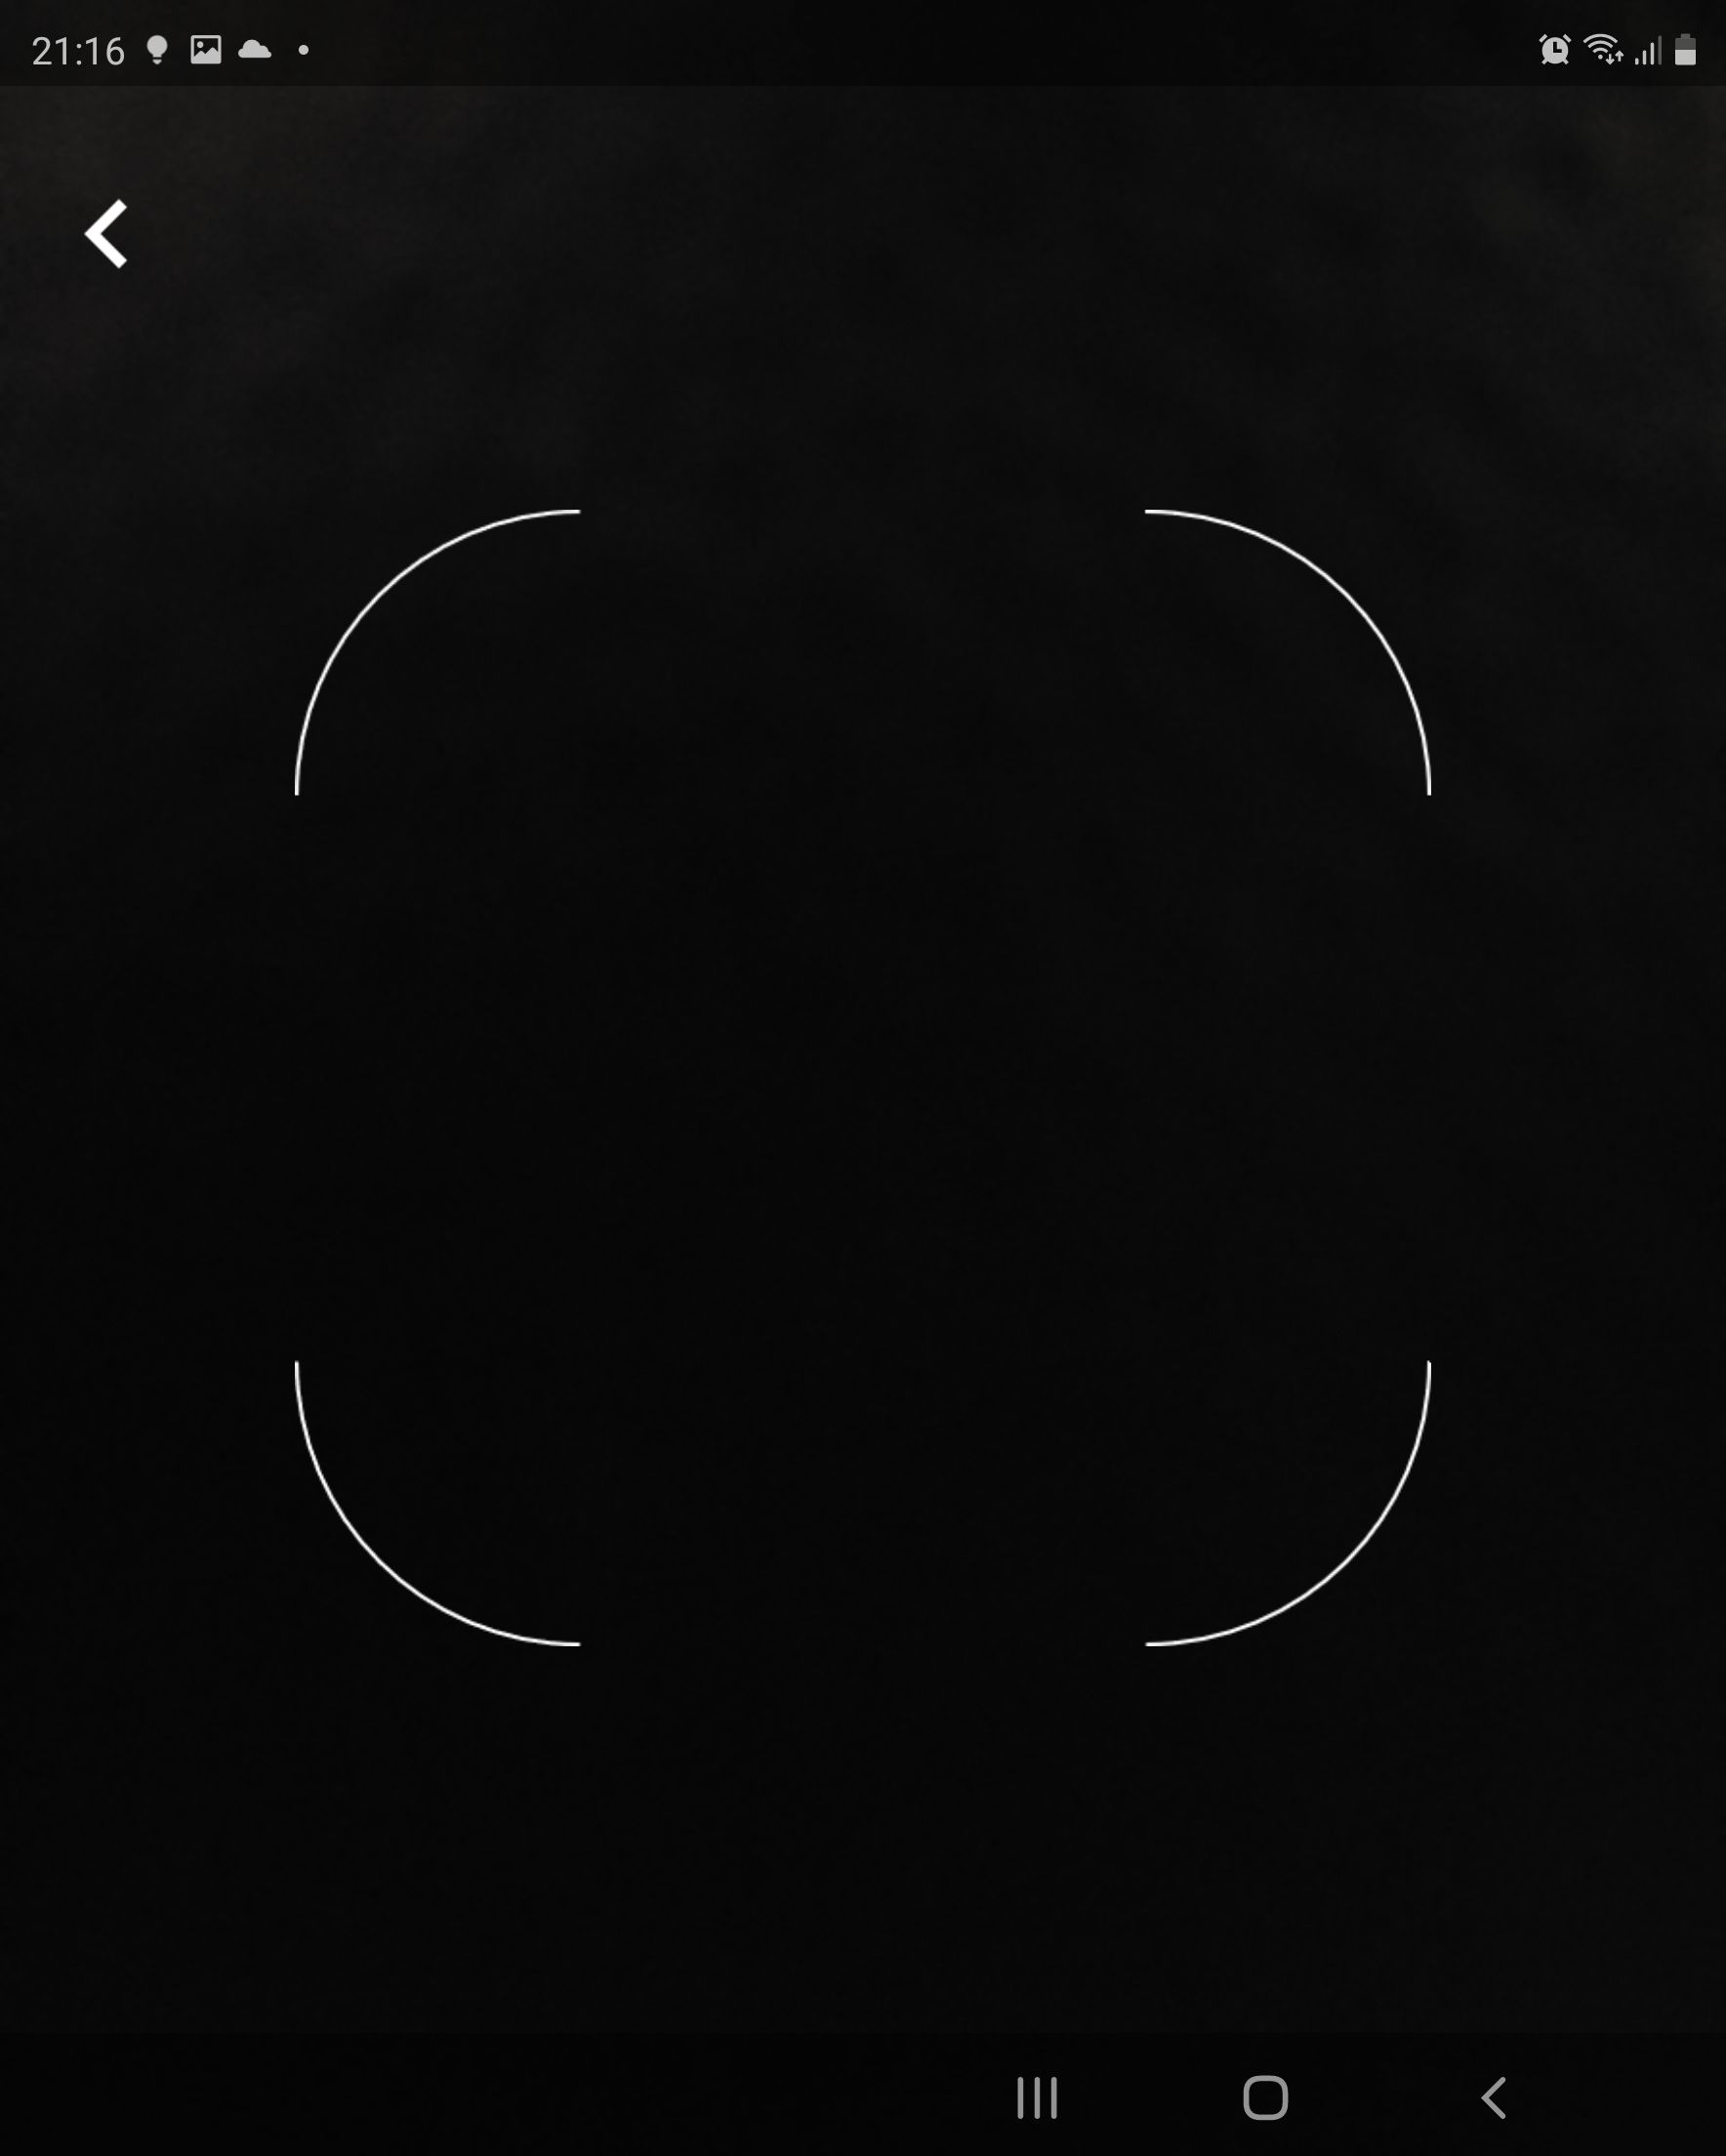
Once the qr code is scanned you will have acces to the following window
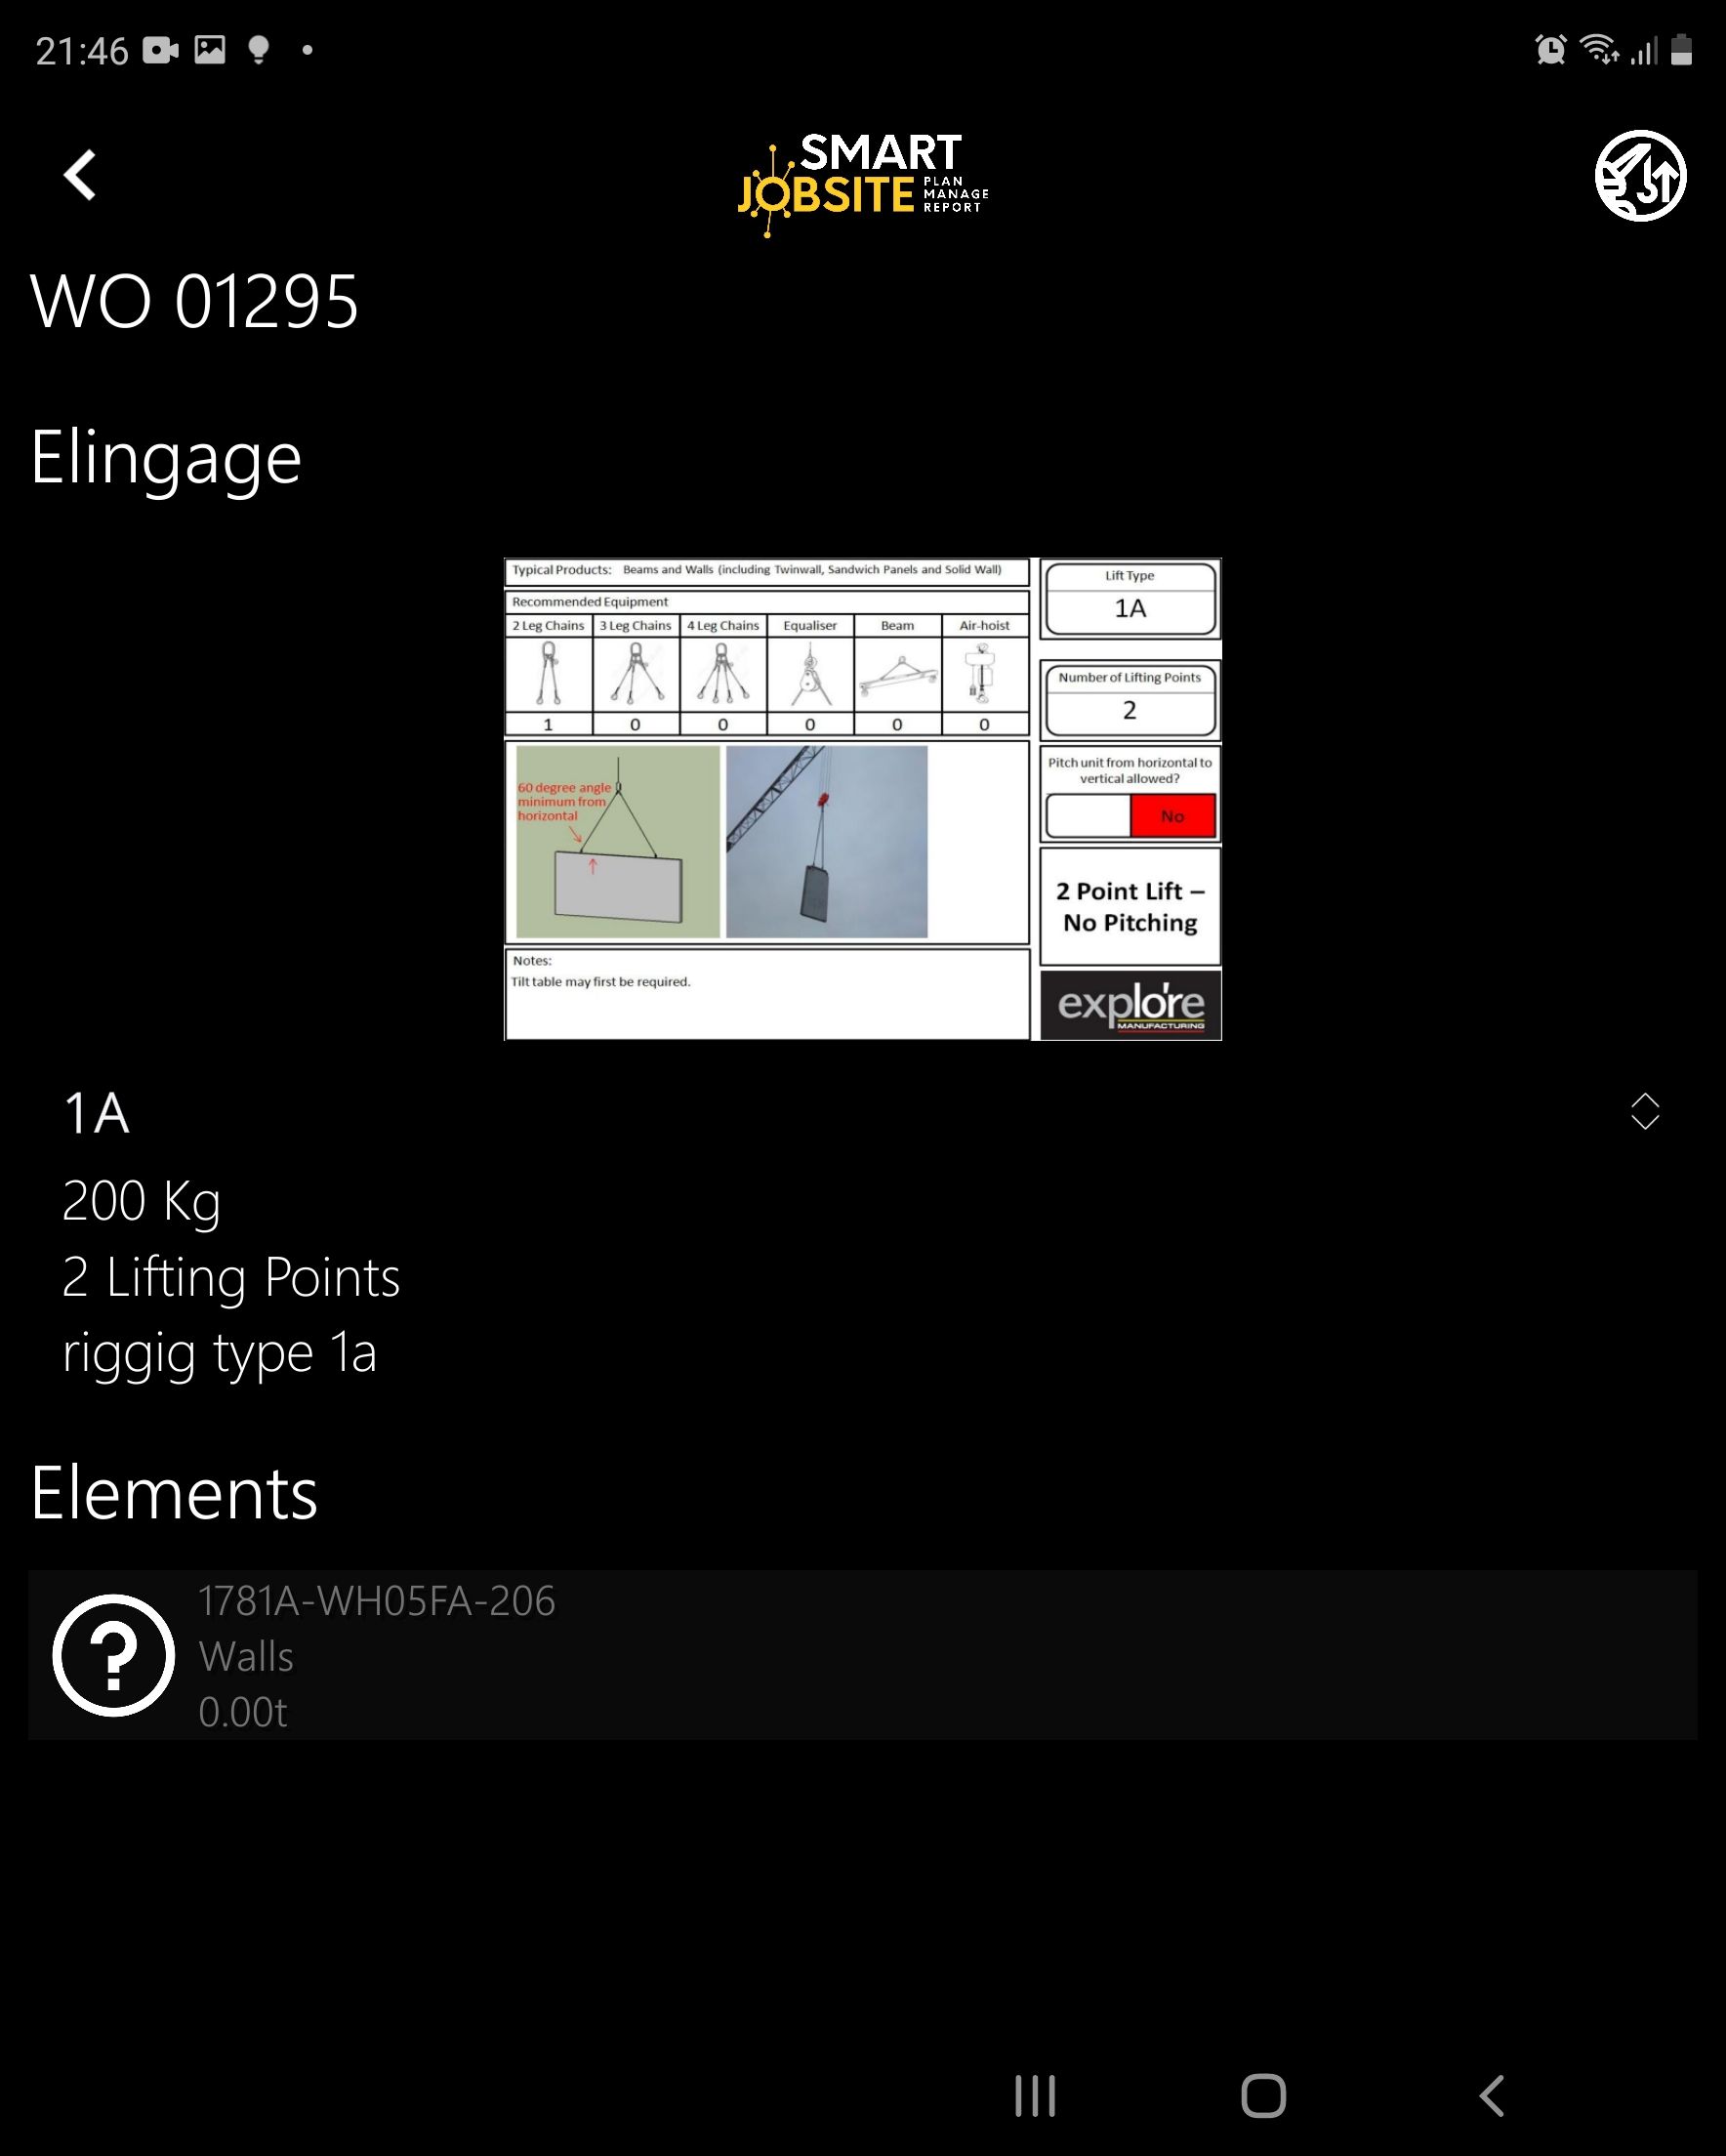
Thanksto this window you can see the detail of the scanned part like :
- the rigging infotmations
- the part informations
To start the lifting you can click on the  button at the top right of the window.
You will go back to this window and the processing task will blink
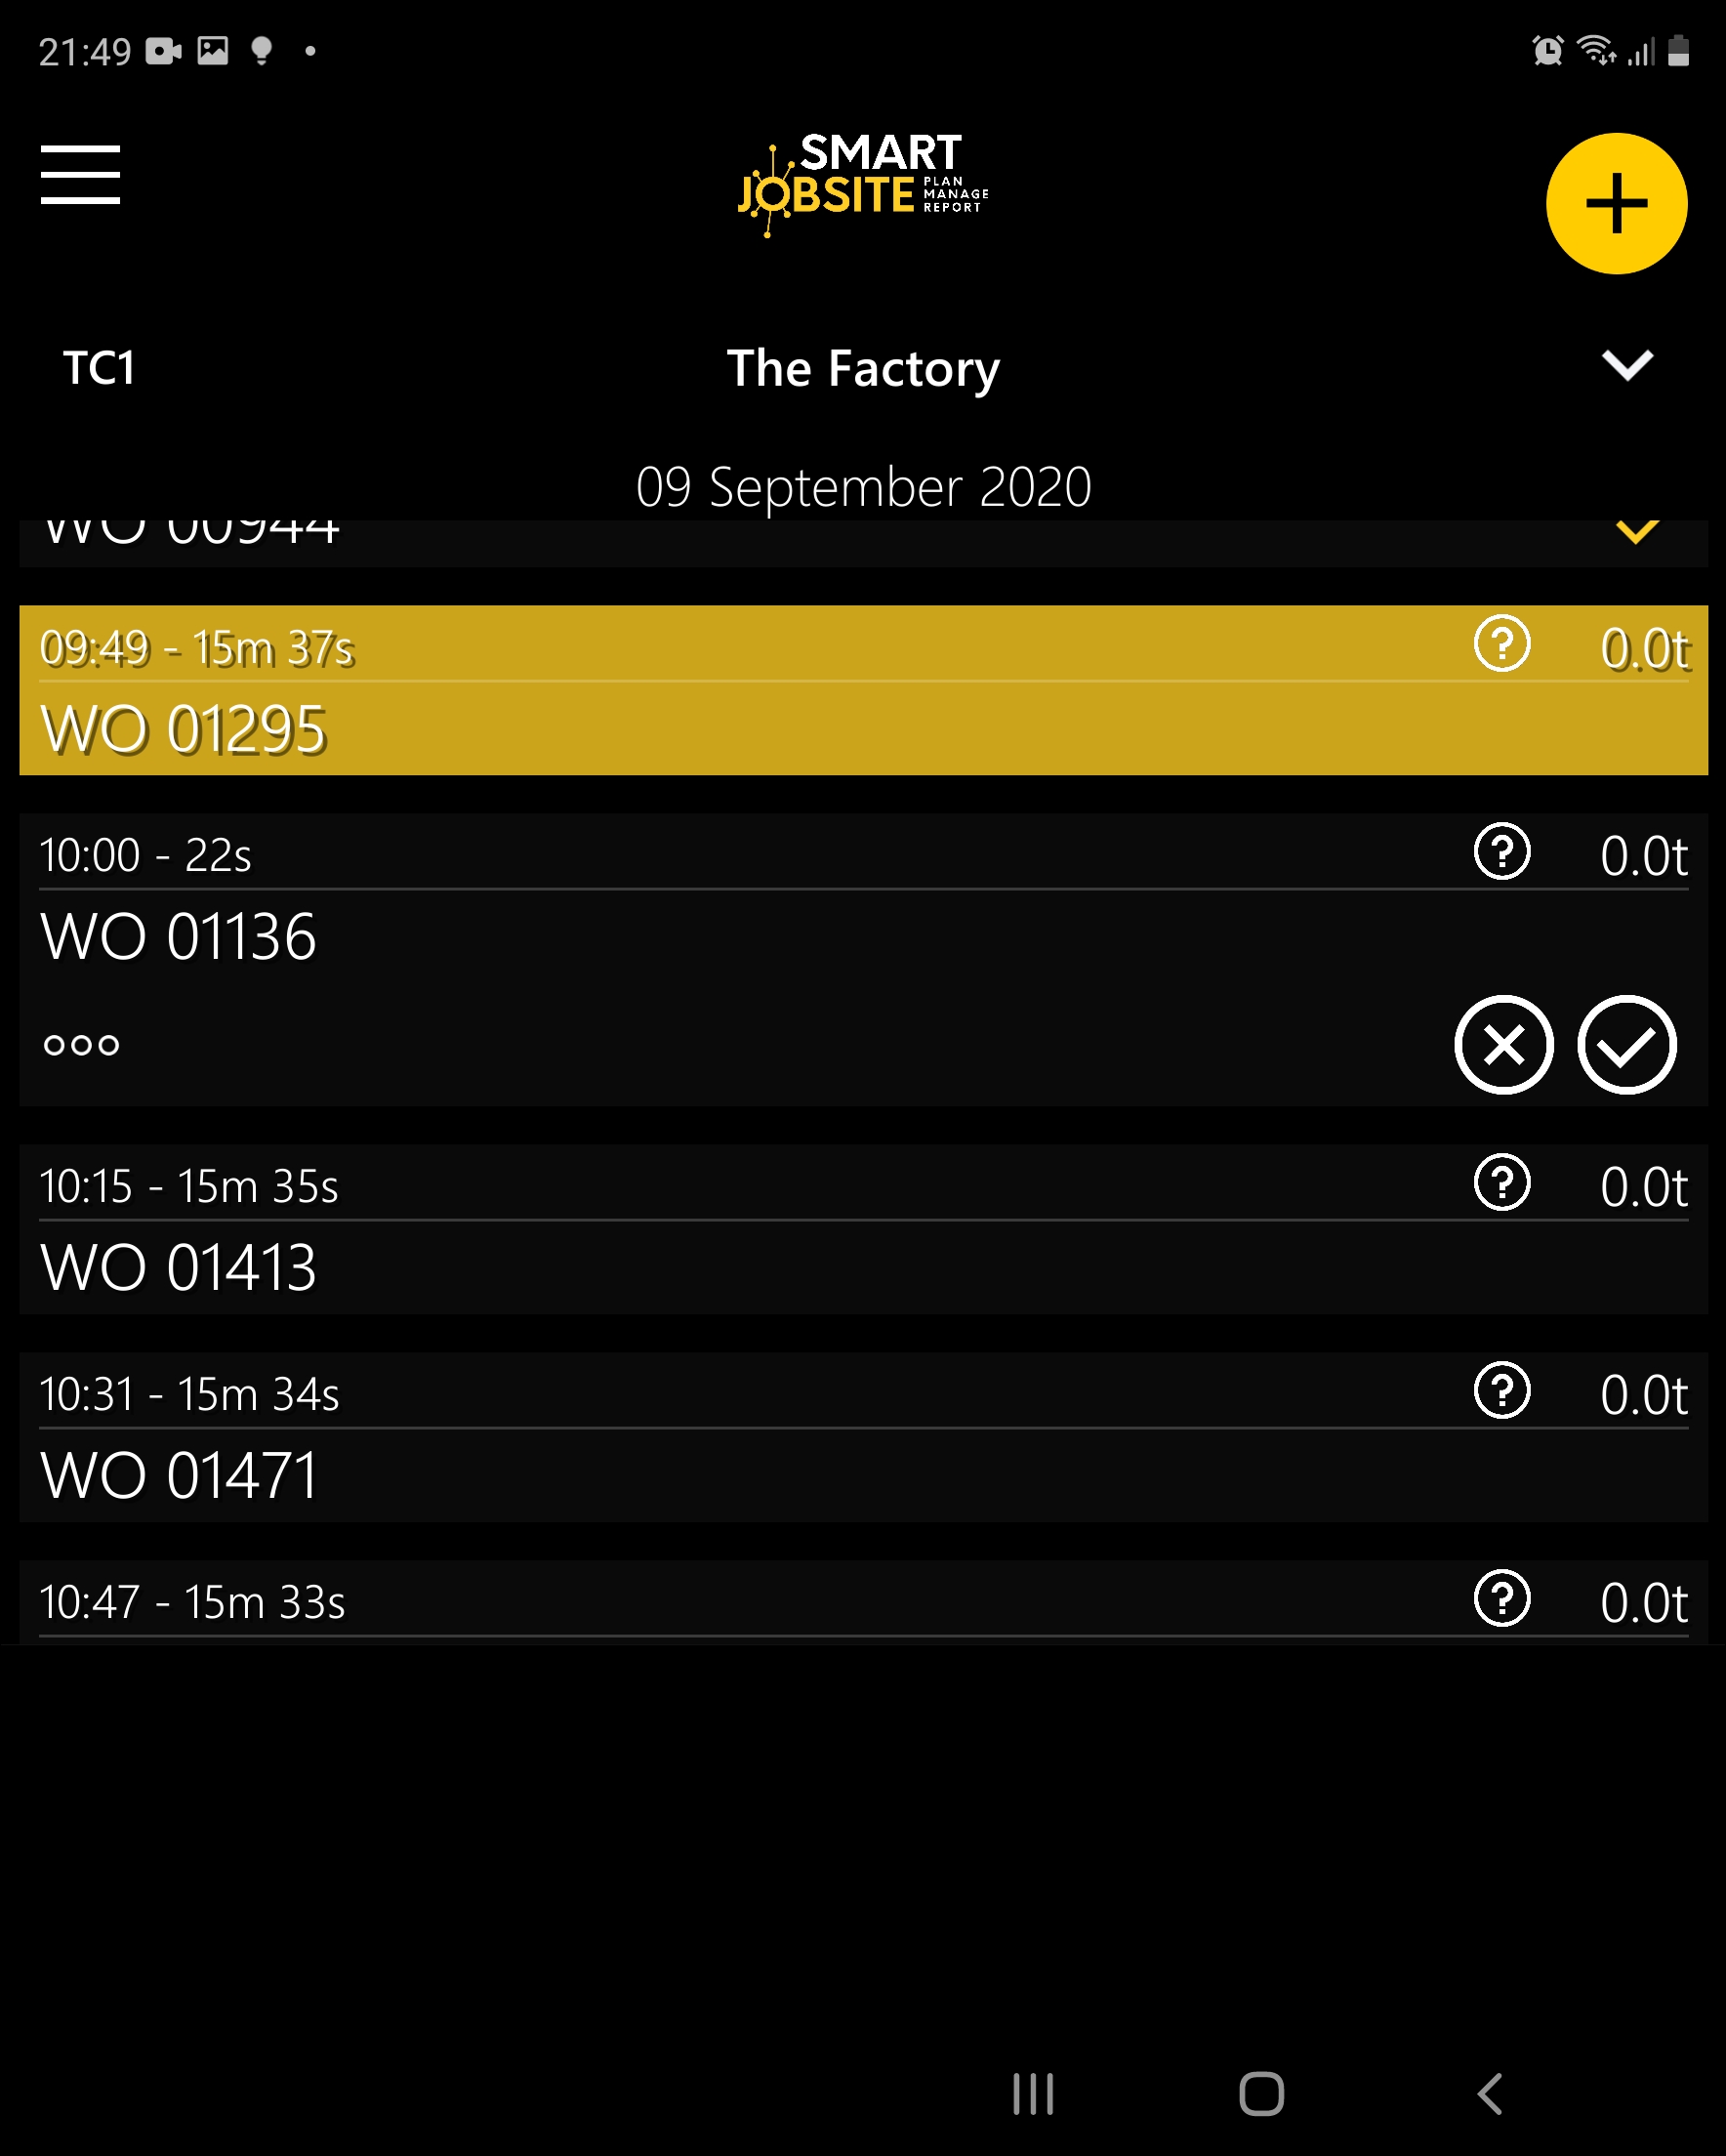
Add a new lift
To add a new lift you can click on the  button.
A new task will be created you can then edit it if you want
button.
A new task will be created you can then edit it if you want
refresh the tile
You can use the  button to refresh the tile if needed
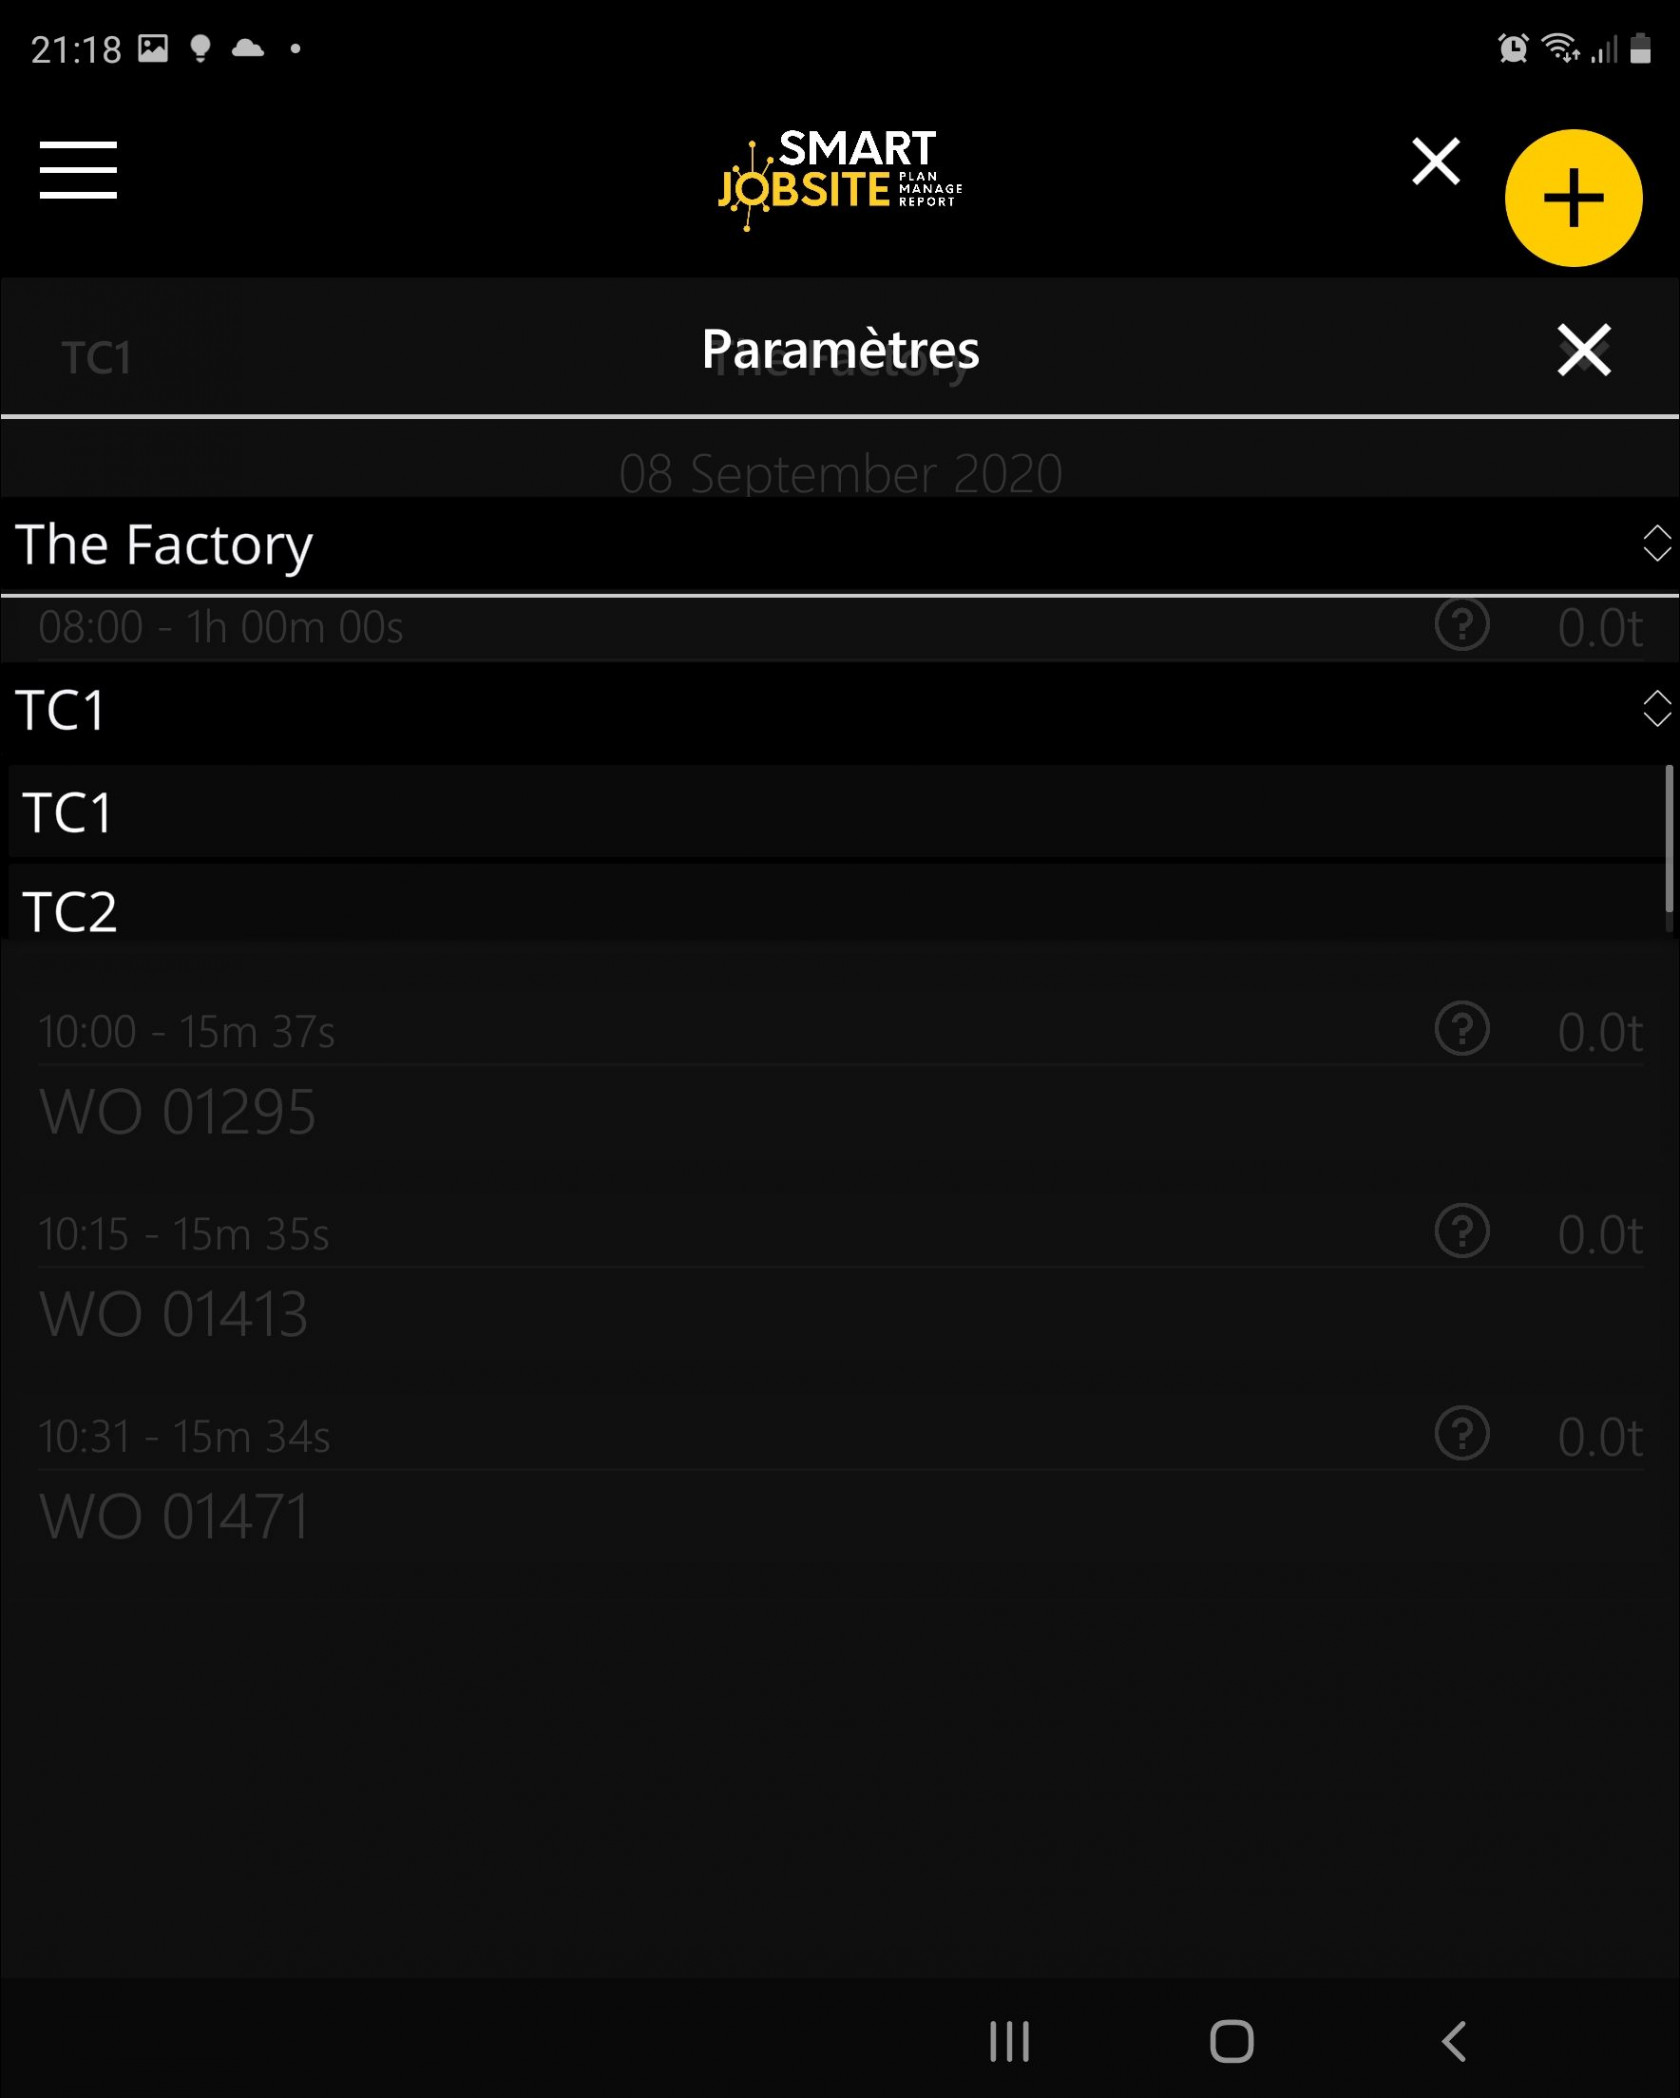
Change jobsite or crane
The lifting plan tile is associated to a jobsite and a crane. You can access to the settings to change it.
If you click on the setting button  to access to the following page
[
to access to the following page
[ ]
(https://bookstack.smartjobsite.com/uploads/images/gallery/2021-01/image-1611262417014.jpg)
]
(https://bookstack.smartjobsite.com/uploads/images/gallery/2021-01/image-1611262417014.jpg)
You can use the two dropdowns to change the Jobsite and / or the crane
Delete the tile
You can use the button  to delete the tile