
Area
How to create areas with Smart Jobsite For Revit
Areas such as Delivery, Storage or Pickup can be created and manage thanks to Smart Jobsite. When you create task you can define the areas for the beginning and the end of the task. Smart Jobsite will then calculate the task time.
To create an are Smart Jobsite will use a floor. Once a floor is defined as an area for Smart Jobsite it will not take into account anymore as an element to lift
To create a floor you can use the Revit tools under Architecture/floor
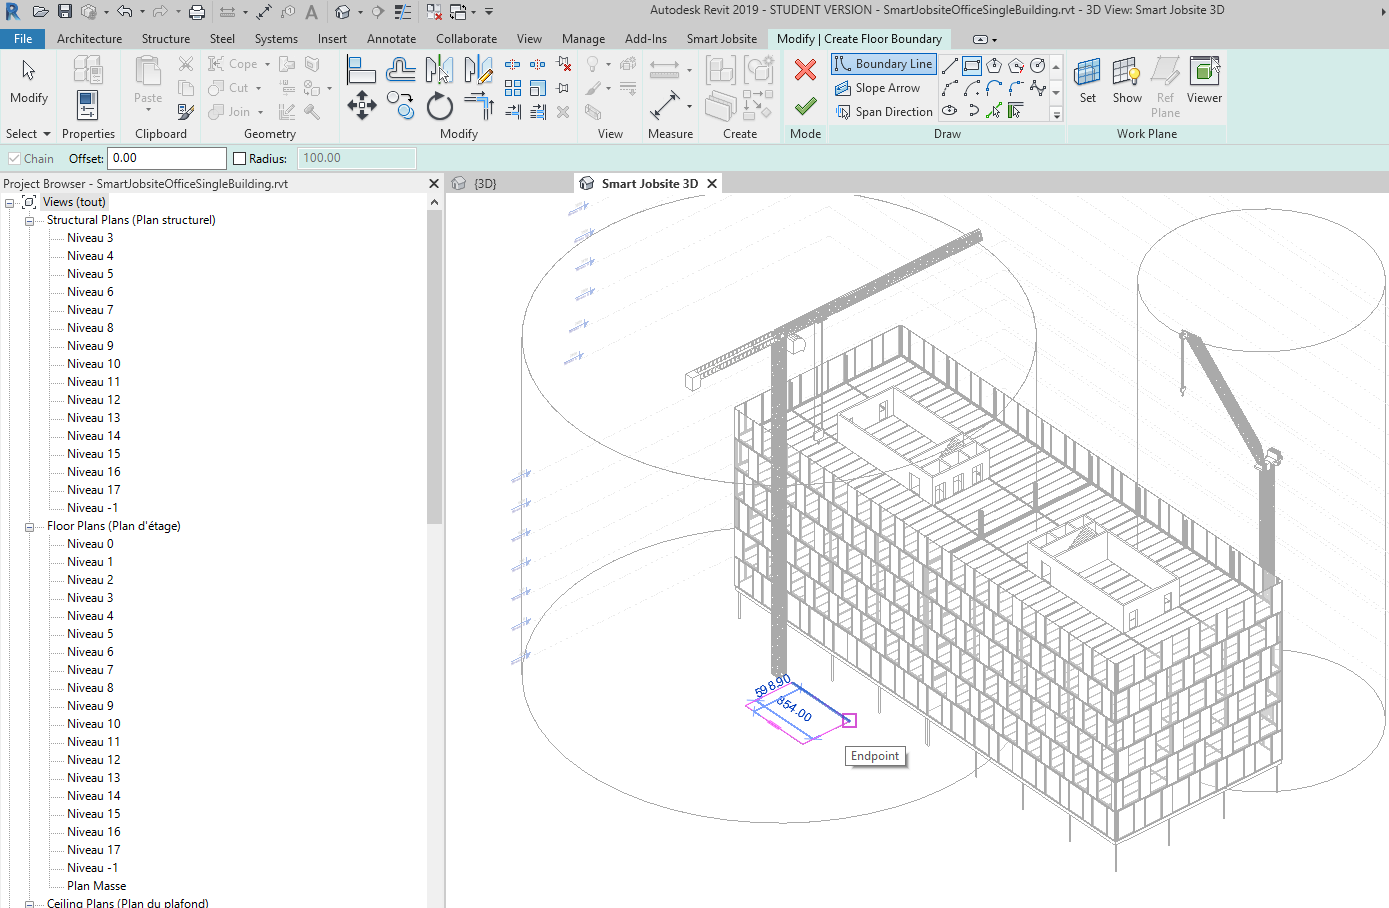
you can draw your floor and validate
Then under the Smart Jobsite tab you can click on the Area button to create an Area

You will have acces to the following panel
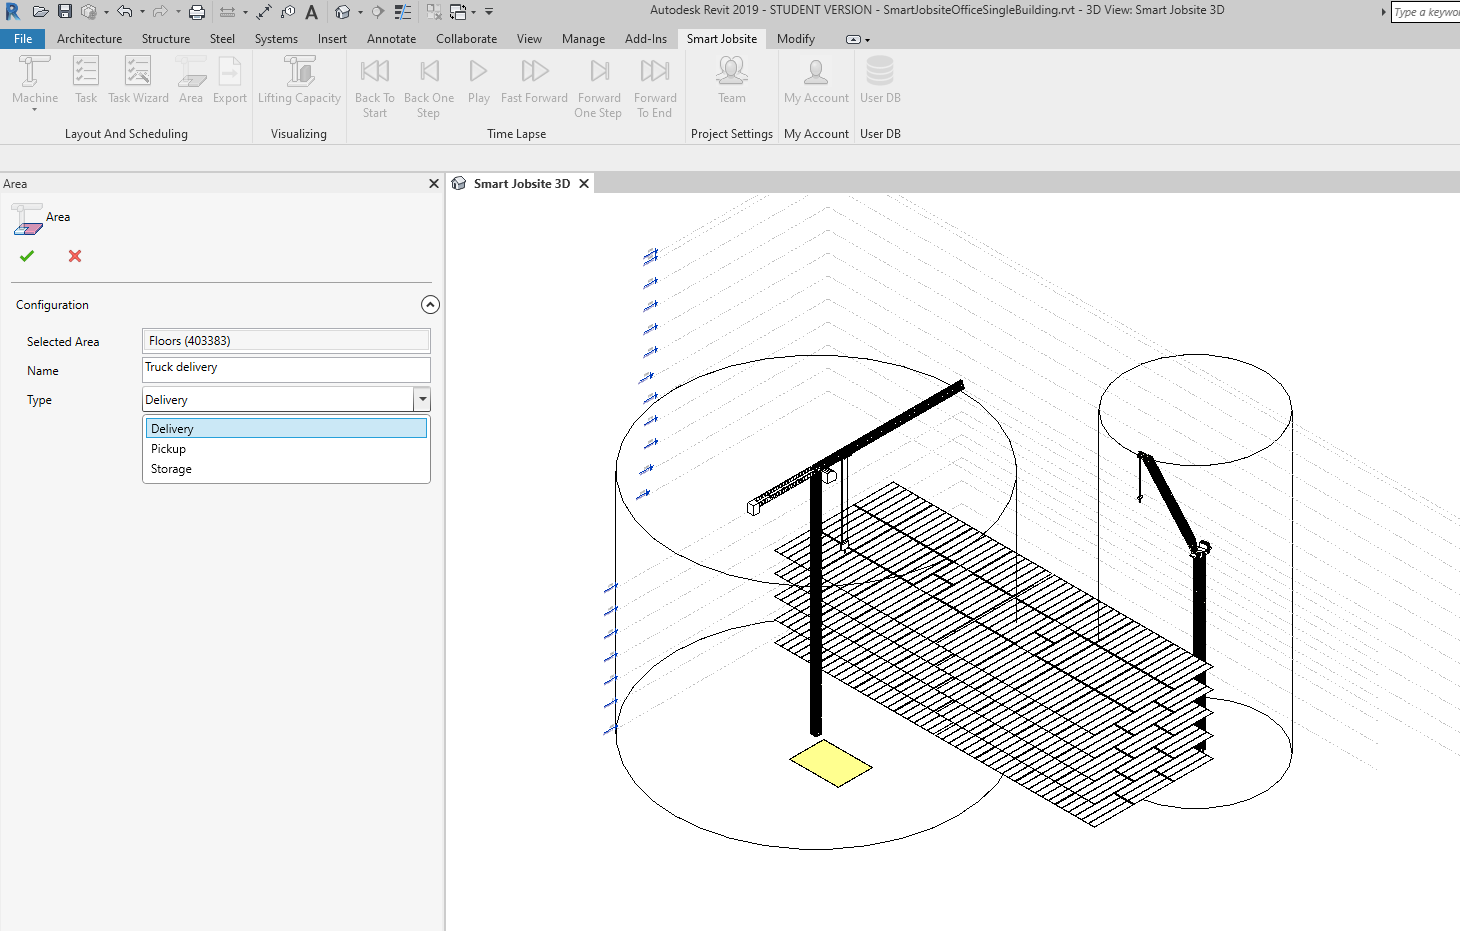
- Selected Area : you can click on a floor on the 3D to select an area
- Name : name of the area
- Type : Type of the area
Then you can validate with 
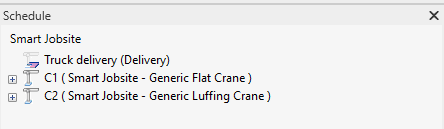
You wil see the created area on your schedule
You can change the name of the area by clicking on it
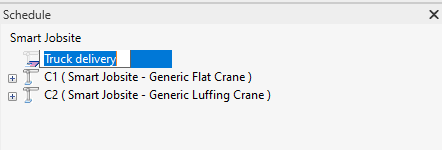
Or right click on it to edit /delete the area
